基于Hexo框架搭建博客

一、引言
为记录学习经验以及生活里的高光时刻,选择采用了Hexo框架进行个人博客的快速搭建,并将其部署到GitHub所提供的page中,使其能够被公共访问。
二、过程
1.安装Git和node.js
访问Git官网页面,点击右下角Download for Windows下载安装包。下载完毕后,均按默认操作进行下一步,即可完成安装。

推荐使用nvm进行node.js的管理,方便对不同版本的node进行切换,点击右下角Releases,可根据需求进行不同版本的安装,下载后默认操作即可完成安装。
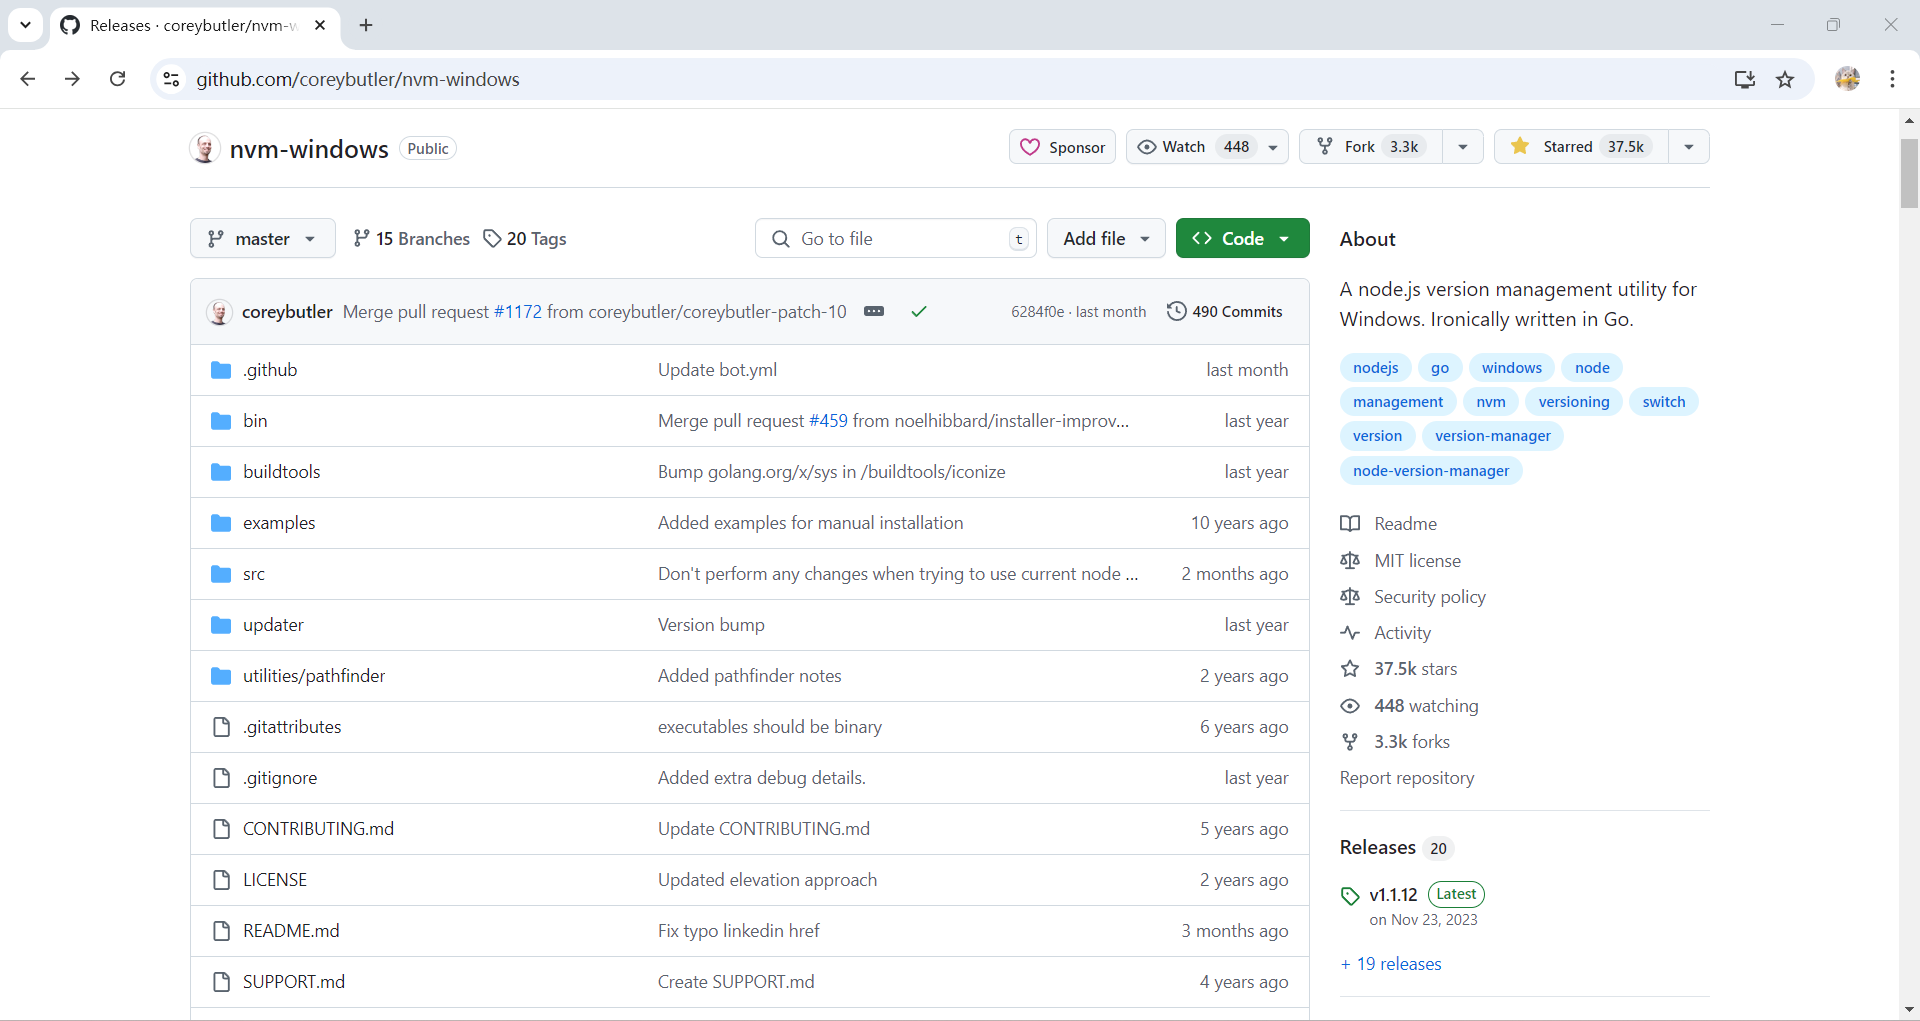
打开终端,进行以下指令操作即可完成对应版本的node.js的安装。
1 | nvm ls available #检索当前可安装的node.js版本 |
2.安装Hexo博客框架
新建博客项目文件夹,通过目录打开终端,依次执行以下指令完成安装。
1 | npm install hexo-cli -g #全局安装Hexo框架 |
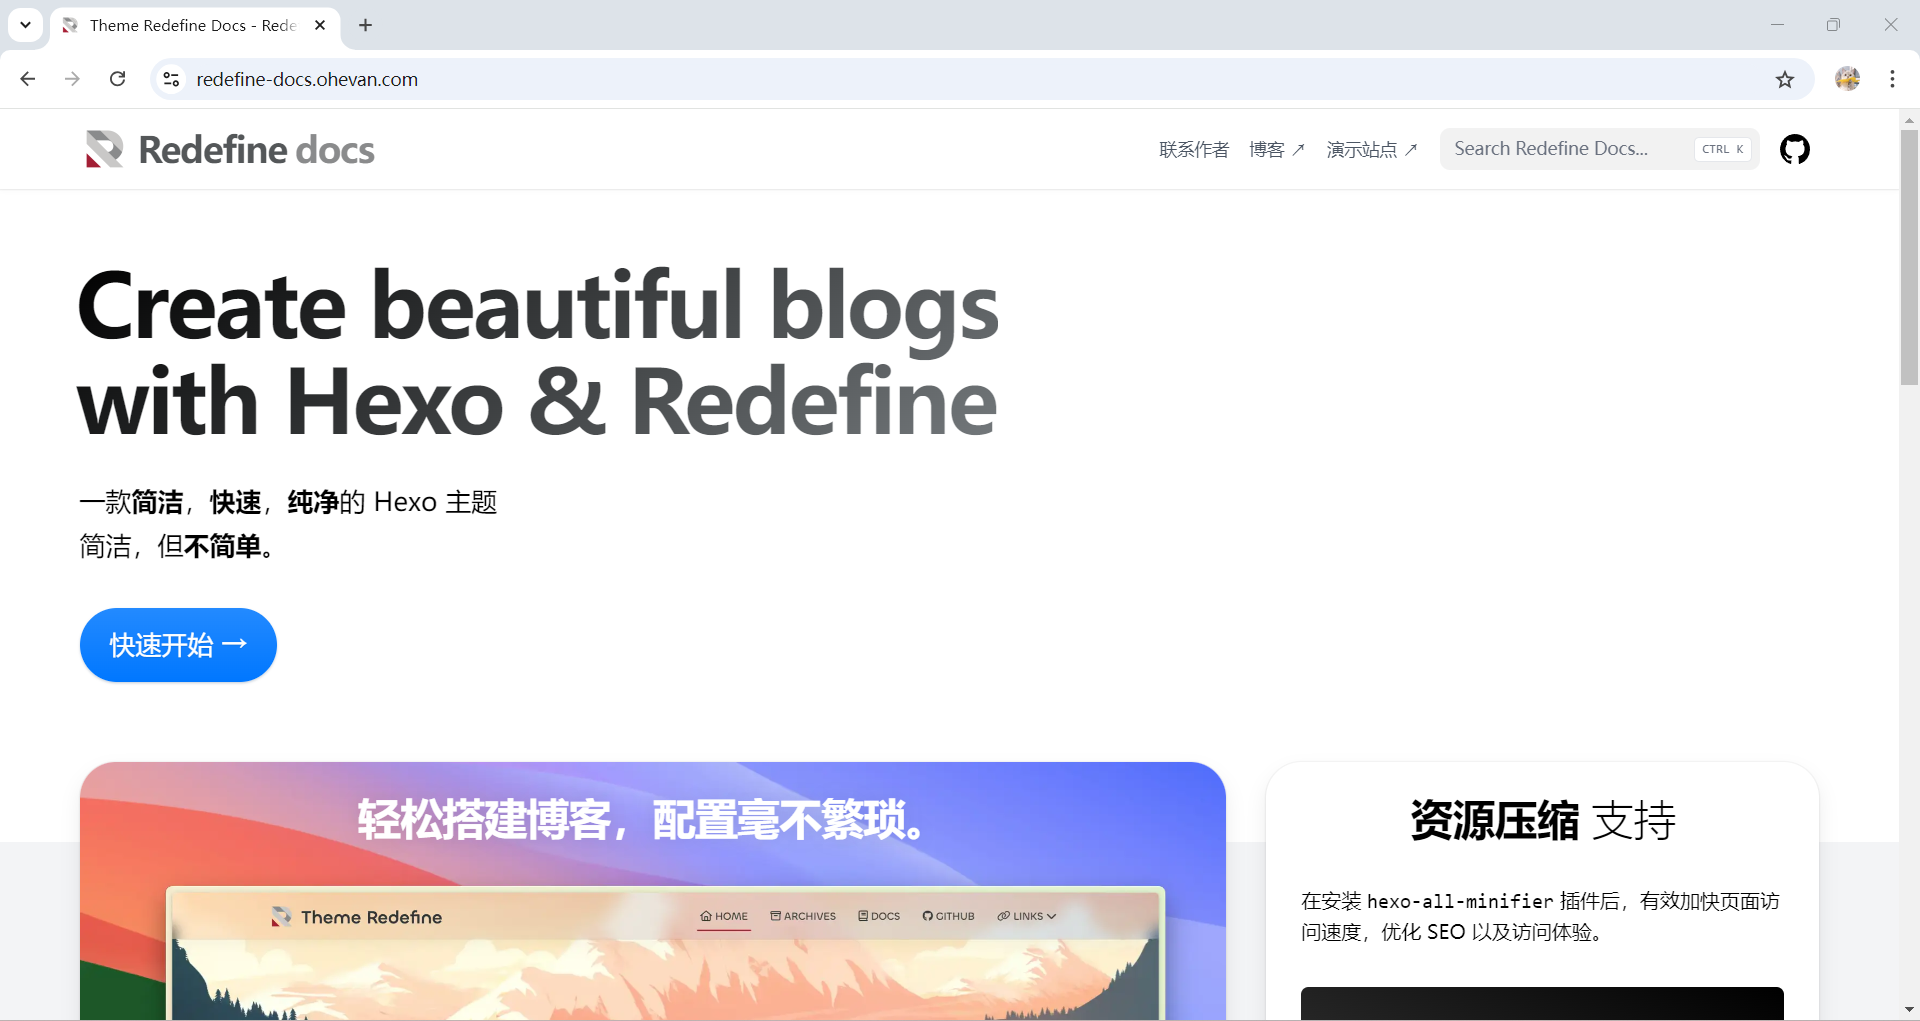
3.配置Redefine主题
Hexo默认初始化的博客页面稍显简陋,不足以满足个性化的需求,选择Redefine主题可以使页面得到充分的美化。可以通过npm和git两种方式进行安装,这里选择使用npm的方式。
1 | npm install hexo-theme-redefine@latest |
安装完成后,进入blog目录,找到_config.yml文件,对参数进行配置。
1 | theme: redefine |
创建_config.redefine.yml文件,内容粘贴自https://github.com/EvanNotFound/hexo-theme-redefine/blob/main/_config.yml即可完成默认配置。
具体细则可查看Redefine主题的官方文档,对基本、首页、文章和页脚均做了详细的配置说明。
4.进行个性化配置
配置网站的标题和作者,左上角标题将变为title对应值,底部页脚和侧边作者名将变为author对应值。
1 | info: |
开启字幕动画功能,并设置明亮主题的背景图片,title对应字幕标题,text对应字幕正文,为数组格式,添加多行正文需通过逗号隔开。填写个人社交账号链接,开启功能后,主页右下角会出现对应平台logo,点击即可跳转。
1 | home_banner: |
5.部署至GitHub-Page
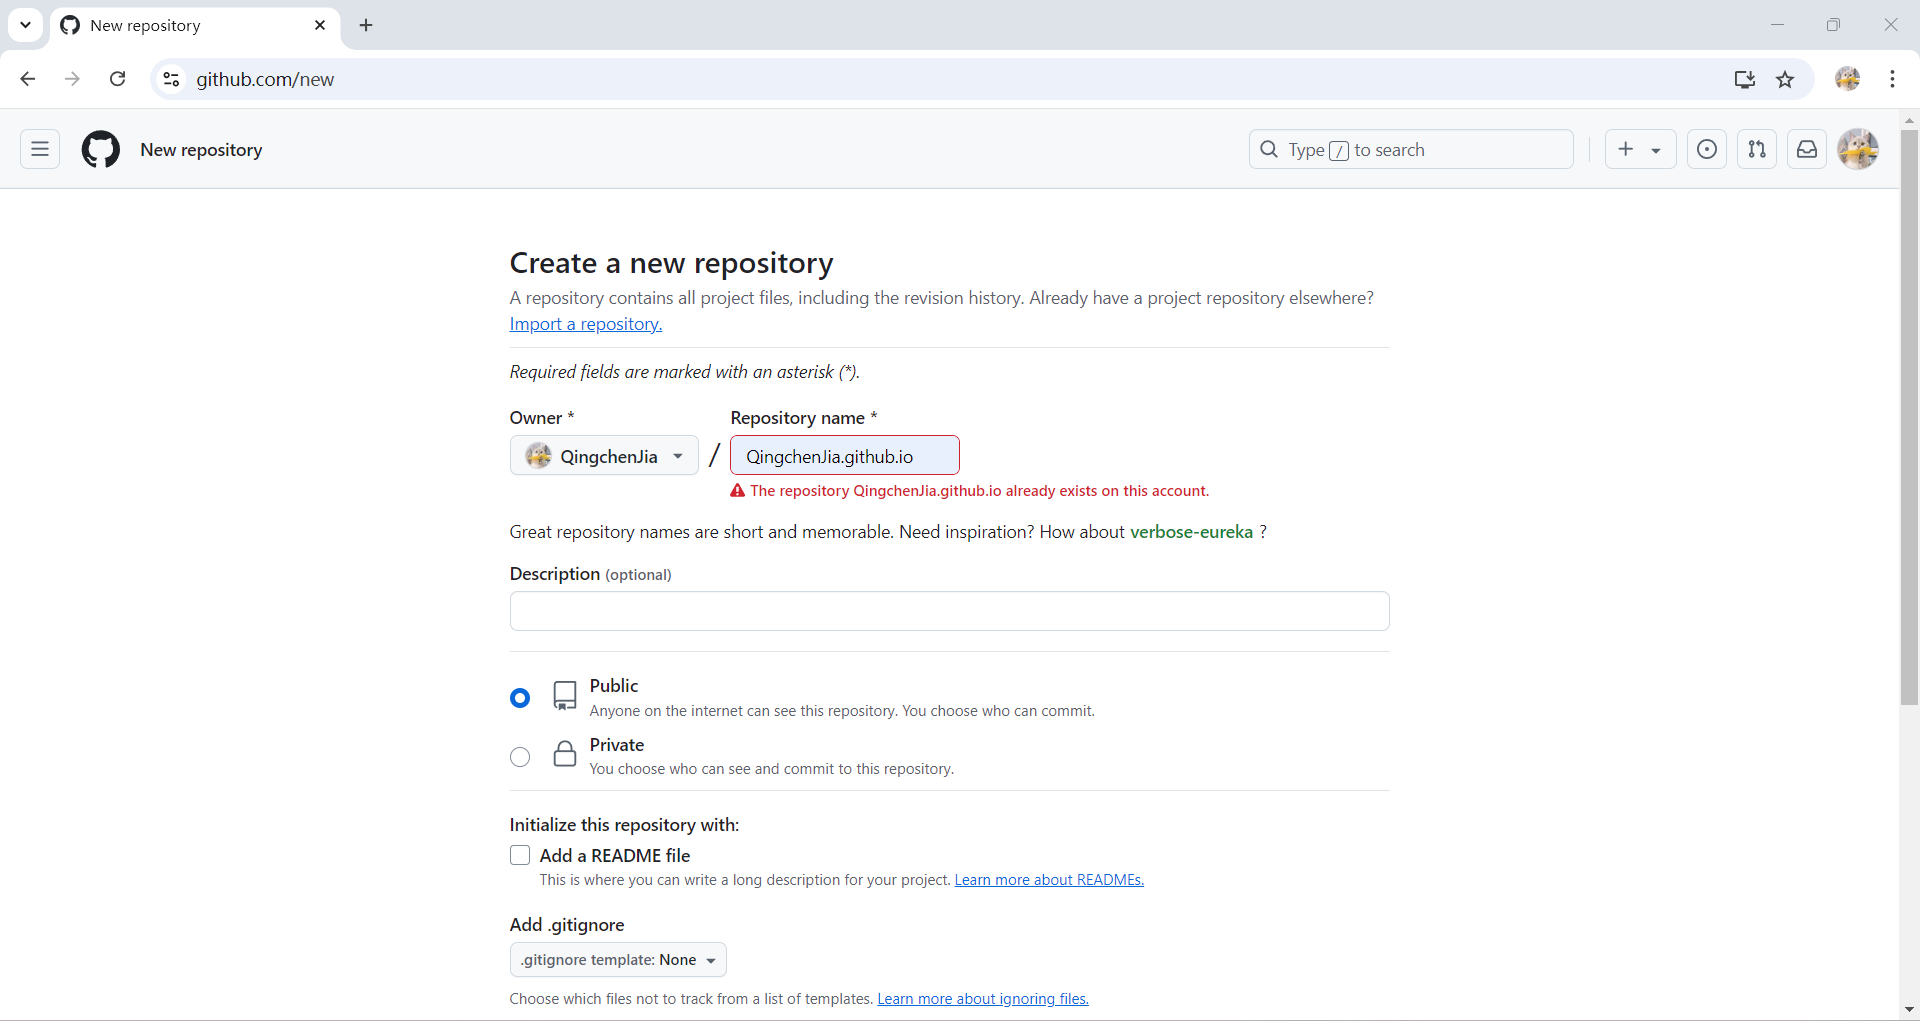
新建github仓库,仓库名为”用户名.github.io“,可见权限选择public,其余均为默认。
推送至远程仓库之前,先在本地部署,浏览一下是否符合要求。
1 | hexo g #生成博客网站资源内容 |
接下来就是最基本的本地仓库初始化,添加至暂存区,提交然后挂载远程仓库,再推送至远程仓库。为保证自定义资源能够正确加载,建议将public目录一同推送。
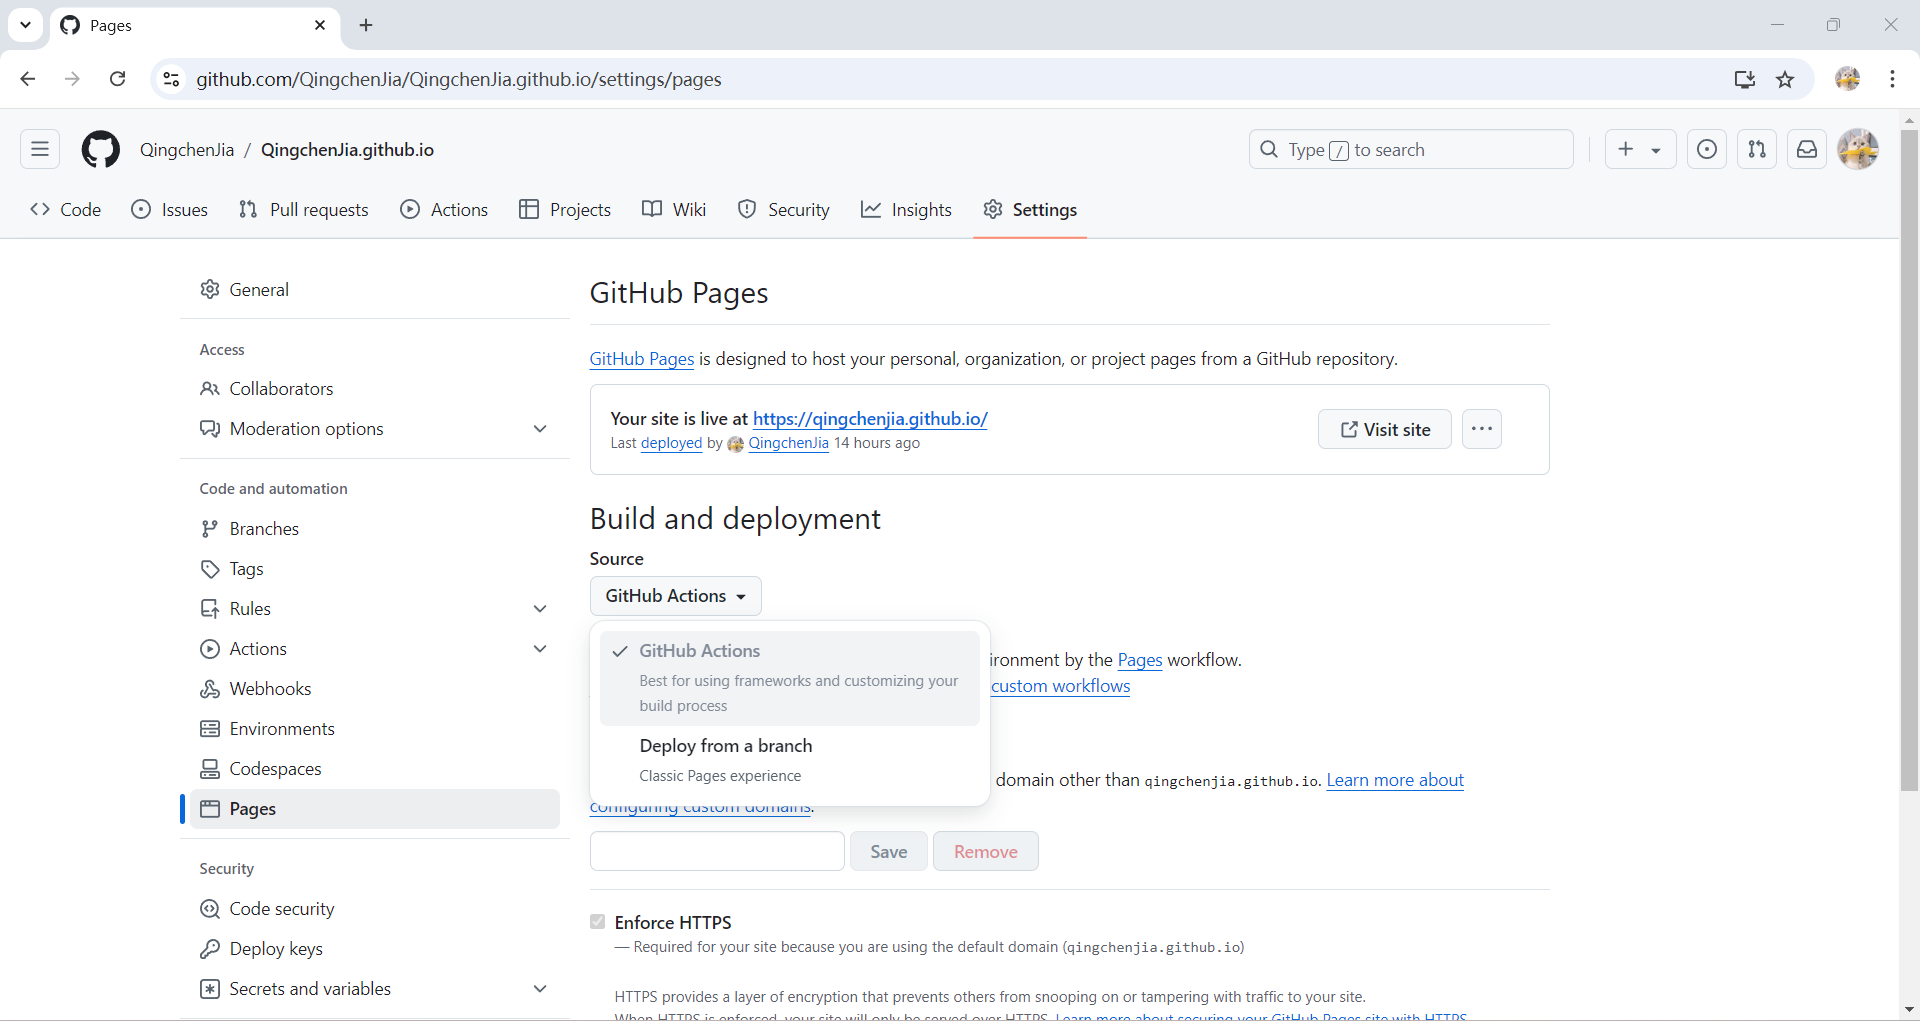
为使GitHub-Page能够在推送完成后根据最新仓库内容即时重新部署后台服务,进入仓库Settings-Pages-Source选择GitHub Actions。
建立.github/workflows/pages.yml,内容如下,填写完毕后,项目仓库将会根据如下配置进行部署发布。
1 | name: Pages |
完成上述操作后,访问https://用户名.github.io/即可浏览博客网站页面。
三、问题
1.图片无法正常显示
下载插件hexo-asset-image和hexo-renderer-marked进行图片显示的修复。
1 | npm install https://github.com/CodeFalling/hexo-asset-image |
然后更改 .config.yml 中的,添加以下匹配值,功能是建立新文章的时候会添加一个同名的文件夹,该文件夹将作为本文章的图片存储目录。并在post_asset_folder: true下,新建配置项marked。
1 | post_asset_folder: true |
然后修改scaffolds文件夹下的post.md,添加哈希值typora-root-url: {{title}},这样我们在用typora的时候会使图片默认路径为同文件夹下的同名文件夹。
需要特别注意的一点是,图片格式应为.jpg。
2.更新时间先于创建时间
进入.config.yml ,对timezone进行配置,修改为中国上海的时区即可正常展示。
1 | timezone: "Asia/Shanghai" |
四、写在最后
虽然经历了不少坎坷,也踩了不少的坑,终于在最后成功搭建好了属于自己的博客网站,每次打开都还是会感觉到有种莫名的成就感。
- Title: 基于Hexo框架搭建博客
- Author: QingchenJia
- Created at : 2024-10-21 19:15:30
- Updated at : 2026-05-13 12:45:18
- Link: https://qingchenjia.github.io/2024/10/21/基于Hexo框架搭建博客/
- License: This work is licensed under CC BY-NC-SA 4.0.